|
||||||||||||||
|
Creating and using print settings |
||||||||||||||
|
||||||||||||||
|
||||||||||||||
|
Creating and using print settings |
||||||||||||||
|
||||||||||||||
How to modify the current print setting
 Modify
current Printing layout
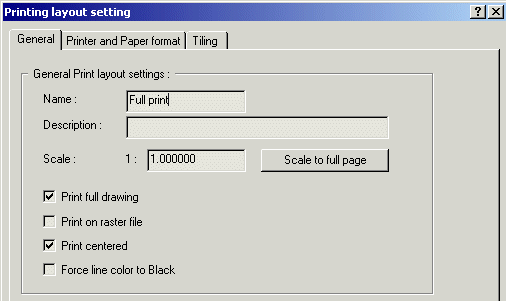
 The Printing layout setting dialog box has several tabs, depending on the settings selected in the General tab.
In this tab it is at first possible to name the new layout and add a brief description of it (for possible further use).
It is as well possible to specify the printing scale, to print only part of the drawing, to print on raster file, to print the drawing out of center and to force black hatches on color printing.
By the 'Scale to full page' button you can set a proper Scale value in order to have the actual layout printed to full size in the actually selected paper format.

In the second tab it is possible to set the paper size, the printer settings and the margins.
Tiling is very useful to subdivide a big drawing into many foils of paper.
In the displayed example, an aircraft drawing exceeding the margin is subdivided into several printing foils.
It is also possible to specify the overlapping between foils, setting a possible pasting.
It is even possible to print marks, helping in the re-assembling of the tiling; the printing sequence can be as well changed.
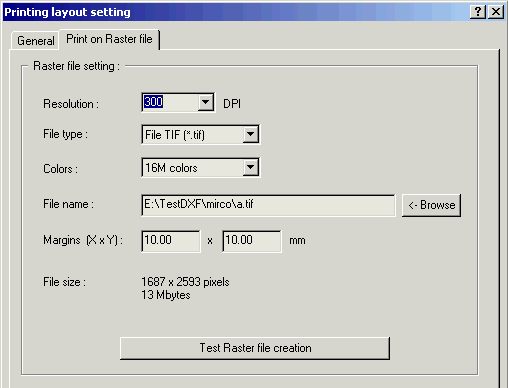
When selecting the Print on raster file option in the General tab, this tab will also appear:

using it, it is possible to define the settings for the raster file created before printing and to verify if the chosen options allow to create the required file.
A combination of excessive resolution and excessive number of colors could in fact forbid the creation of the required raster file.
 Command
line: LAYOUT