|
||||
|
AutoTrace - Step 1: Raster preprocessing
|
||||
AutoTrace a Background image - Step 1: Raster preprocessing Pro version only
AutoTracing a raster image is always a challenging task. There isn't here a
perfect mathematical single solution for this problem.
The first step, preparing the raster image, is the most important task.
According with the type of
background raster image we can apply different preprocessing
strategy.
The goal is to get a cleaned raster image with the raster lines we want to
trace thinned to just 1 pixel thickness.
All the preprocessing functions are included in the first Frame of the dialog:
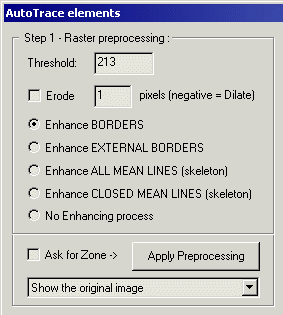
Lets begin with the list of the parameters and functions included there:
You can adjust the transparency of the raster image
scrolling the included cursor.
Now we want to explain better the Enhancing operation
As advised the goal is to get a cleaned
raster image with the raster lines we want to trace thinned to just 1 pixel
thickness.
In this way will be easier for the Autotracing operation to follow the right
line.
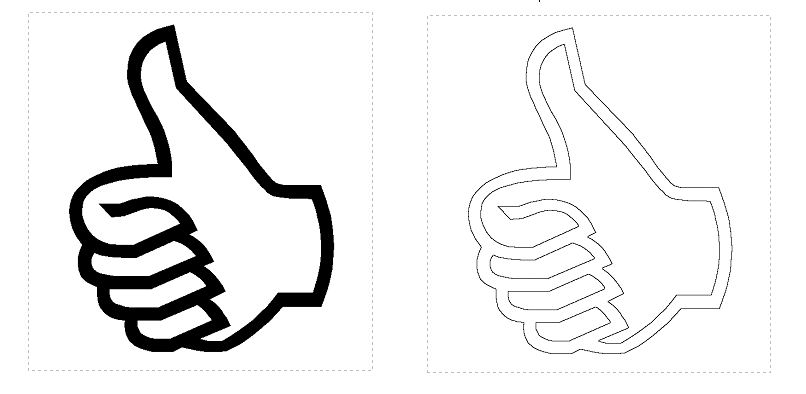
Enhance Borders
This option will enhance the Border lines between Black and
White pixels. The border will be traced on the outer Black pixels. This is the
right option if you want to cut filled shapes, see the example below with the
original and the Border enanched images:
Enhance External Borders
This option will enhance the Border lines between Black and
White pixel, but the enanched border is external to the Black shape. The border
will be traced on the white pixels surroinding the Black ones. This may be
the right option if you want to cut traced shapes, but they are poor drawn
and/or include internal lines.
For example we want to trace the external shape of this former:
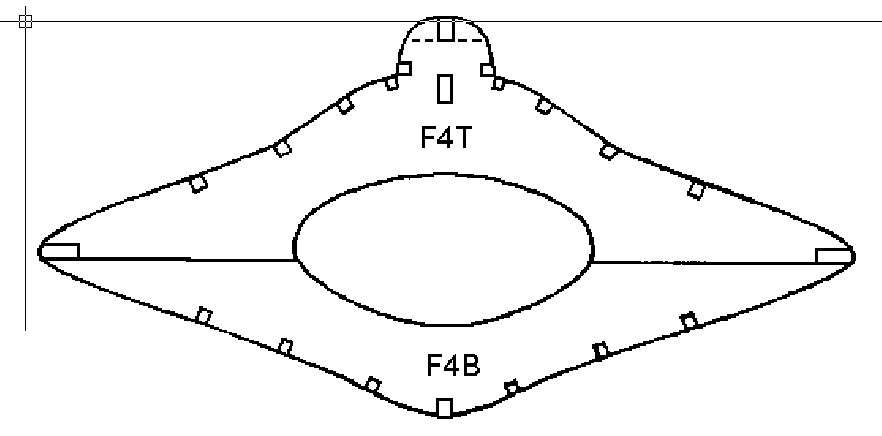
If we apply the first option, Enhance Borders, you will get this:
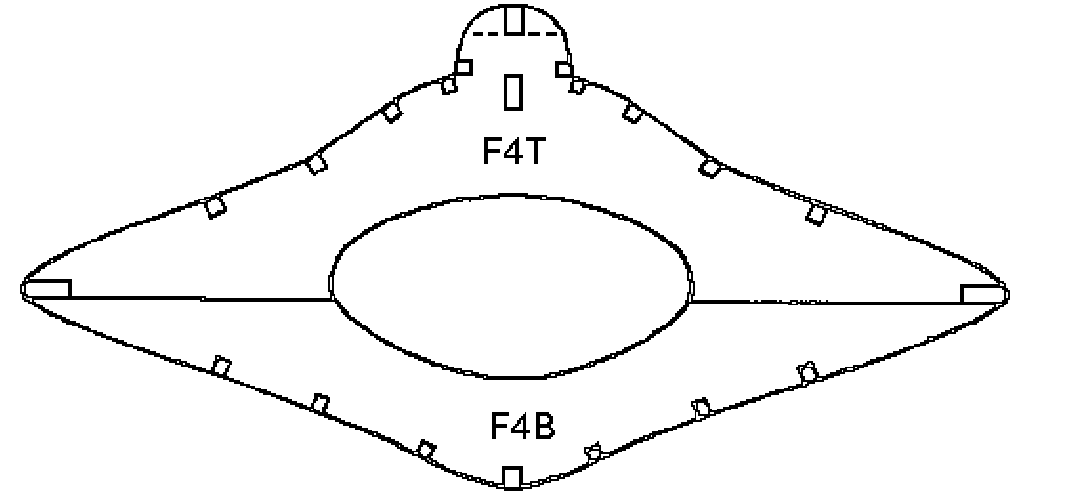
As you can see the lines are still not cleaned, as the internal and external
enhanced border touches each other (the original line was just 1 pixel thick,
and dirty). Applying the External Borders Enhance we will give this:
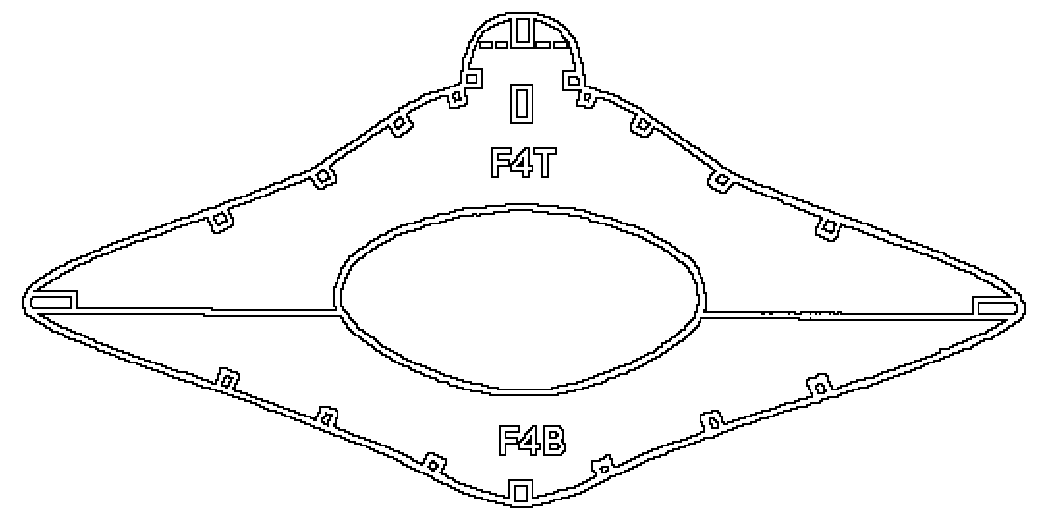
As you can see the result is now much better, as we can select among an
external pure shape and an intenal contour with spar slots included.
Enhance ALL MEAN LINES (skeleton)
This option will enhance the mean lines of Thick Lines. This
is the right option if you want to trace a drawing and be sure to have thin
lines. Here is an example with the original and the preprocessed images:
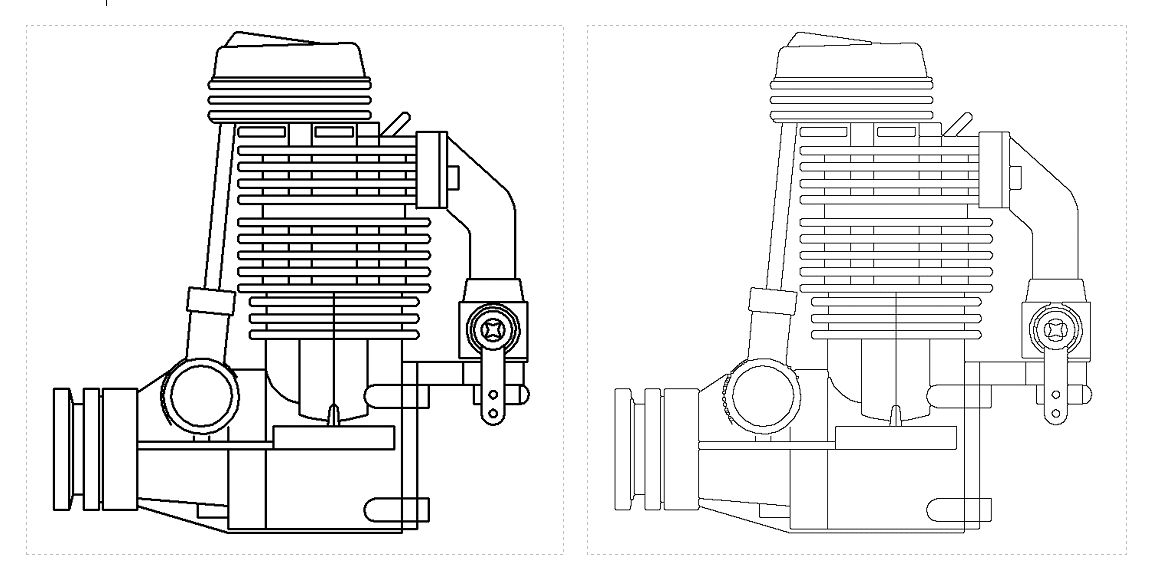
The lines in the first (original) image are 2 or 3 pixel wide, and in the
second (preprocessed) image are thinned to 1 pixel.
Here below a Zoom of the same images:

Enhance CLOSED MEAN LINES (skeleton)
This option will enhance the mean lines of CLOSED Thick Lines. It's the same of the previous Enhance ALL MEAN LINES , but here all the not closed lines are deleted. This is the right option if you want to trace a drawing and be sure to have thin closed lines. Here is an example with the original and the preprocessed images:
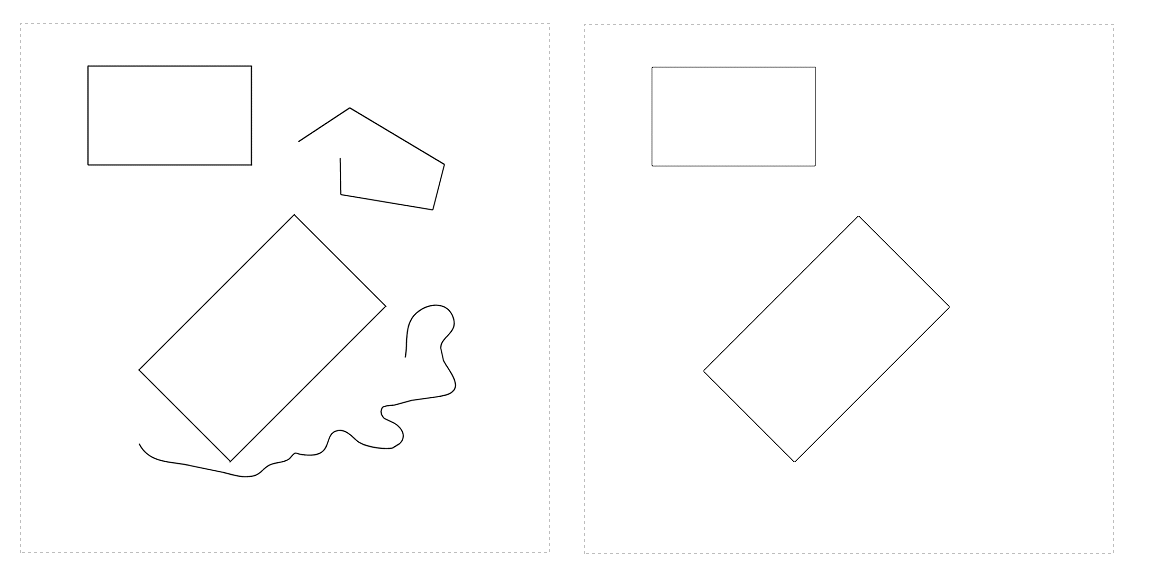
No Enhancing process
This option will not apply any enhancing. You can use this if you are sure about the 1 pixel tichiness of every line in the raster image. If some thick lines are included in the raster image, the Autotracing operation will give a very dirty result.
See also: Step 2 - Tracing elements
Pro version only